A property management LLC is a type limited liability company. This legal structure can provide many benefits to business owners. These include asset protection, pass-through taxation, and asset protection. There are many different types of LLCs. However, all of them have the same goal: to limit your liabilities.
An LLC allows for you to separate your personal assets and the real property you manage. It reduces the amount paperwork you will need to complete. A LLC can protect your rental property from lawsuits.
The process of setting up an LLC for rental property is not straightforward. In order to use an LLC for your rental property, you will need to establish one in your state. In addition, you will have to pay a small setup fee.
Once you have completed this, you are able to transfer the profits and losses of your rental property to an LLC. If you make a lot of money from renting your property, you can use the money to pay off your mortgage. The money you make from your property will be subject to taxes. Choosing an LLC to protect your assets is a good idea if you have a lot of properties to manage.
Another benefit to an LLC is your anonymity. It is easier for your tenant to find you if your name is different from your personal. A LLC will also allow you to rent your property to residential tenants.
In the case of property management companies, it is a good idea if you have a written operating contract. These agreements describe the roles of each member. They should also detail cancellation and termination policies. An agreement should include details about each member's fees, responsibilities, as well as their responsibilities.
It's important to choose a suitable name in order to get the best out of your LLC. The name should not only be unique to the area but should also be easy for people to pronounce. It is best to keep the address of any LLC that has multiple members secret if it is multi-member.

Although it might seem like an unnecessary expense, you'll save time and money by having an LLC. An LLC is a better option than filing multiple tax returns and paying thousands of dollar in corporate fees. You'll only need to file a few and then pay taxes on the profit.
Be sure to understand what you are doing when you create an LLC. You should research as with all businesses. There are many types of LLCs, so be sure to do your research and choose the right one for you. Talk to a lawyer. A lawyer can help to uncover potential loopholes that will prevent any possible claims against yourself.
FAQ
What happens if a handyman causes me damage or doesn't do his job as I would like?
Notify your contractor immediately if there is a problem with the project. It is best to note down what happened and attach photos. Next, contact your insurance company and file for a claim.
How many hours does it normally take to complete a typical DIY project?
An average DIY project takes between two and four hours. The complexity and difficulty levels of the project determine the length.
Who will handle my handyman project
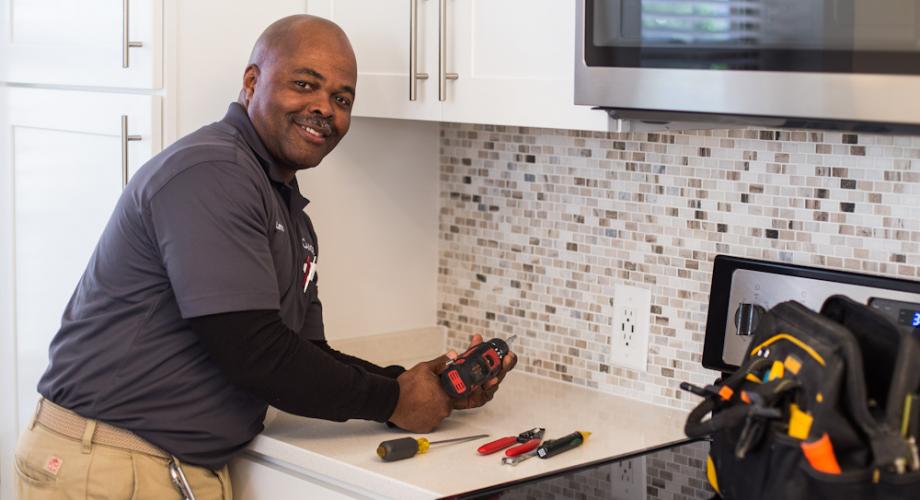
You won't be disappointed if a professional handyman offers a quote for a small job, such as replacing a lamp or fixing a broken faucet. Handyman services are also available for larger jobs like repairing or installing floor tiles.
Handyman Services is a service that offers ongoing support such as maintenance and repair.
Do I need a handyman trained to do my work
No. Handymen have all the skills and knowledge necessary to complete any task. You just need to give them the materials they require to complete the job.
When is it the best time for a handyman to be hired?
There is no right time to hire a handyman. You just need to get started as soon possible. To save money, you could wait until after the holidays. But you could also just pick up the phone and call around to different handymen.
Why should I hire a handyman rather than doing it myself?
It saves you time and money to hire a handyman. It saves time and saves money. Hire a handyman to help you with your job.
What are the most popular handyman repairs?
Handymen often repair roofs, windows and doors, doors, gutters. Decks, fences and sheds are all common repairs. Handymen can help with any home improvement or building project that is not possible for DIY homeowners.
Statistics
- “Before the pandemic, 40% of people asked how we could estimate a job when we weren't there,” Rose recalled. (inquirer.com)
- With a strong housing market, the handyman and general maintenance worker industry are expected to grow by nearly 10% in the next decade. (housecallpro.com)
- “Once the pandemic hit, that number fell to about 20%.” (inquirer.com)
- According to the U.S. Bureau of Labor Statistics, in May 2020, there are 1,357,630 handymen employed in the U.S.. (angi.com)
- More than 20% of homes in America have outdoor living spaces, including decks and patios. (mrhandyman.com)
External Links
How To
How to Replace a Broken Tile
Step 1: Remove the old tiles.
Remove the old tiles from your flooring and put them aside. These tiles will be useful later on, so you'll need to keep them intact. Note which pieces are missing or damaged to avoid having to search for replacements.
Step 2 - Choose New Tiles
Take a look at some different options available for tile replacement.
-
You should find a similar tile to the one that you've just taken out.
-
To find the right piece, take the measurements you took as you were removing the tiles. This will make it easy to get the correct size without having again to measure.
-
Look for various colors, patterns, textures, sizes, shapes, etc.
-
Consider the grout you want to use. Some prefer a solid color, while others like mixing it up.
-
It is important to ensure that the tile you choose resists moisture.
-
Make sure you consider where your tile will be placed. It can help you save money and time.
-
Once you've chosen your tile, order it online or call your local Lowe's store to place your order.
Step 3: Install the tiles.
For your new tiles, use the same method that you used to install them. It is important to align them correctly so they fit together properly.
Step 4 - Clean Up
Clean up any debris on the floor before you apply the last layer of protective material.
This will keep dust and dirt from getting into the grout between tiles, which could lead to mold.
Step 5 - Sand the Floor
After everything has been cleaned, sand it down to remove any remaining particles from the previous steps.
Step 6: Finish off
Apply the protective coatings once the floor is smooth. Wait until the floor is completely smooth before applying the protective coatings to the tiles. Wet paint could stain the tiles' surface.
Remember, you can always use a product called "damp-and-dry" on your floors to help protect against stains.
It will not address all problems that may arise once your tiles have been installed. If you have children, an anti-slip coating may be a good idea.
And finally, remember to leave the protective sealer on for several weeks before moving back into your home.